How to create a rating system for your blog using TypeScript and Lambdas
June 20, 2019 ☼ JS ☼ serverless ☼ TypeScript
In this article I’ll try to show you how to deploy a Lambda function using @Zeit platform. We’re going to create a simple rating system for this very blog.
Here’s how it will work:
- Users submit their feedback by selecting the desired rating at the bottom of the page.
- A
POSTrequest will be sent to our endpoint with the required payload. - The Lambda function will be triggered and save the data to Redis.
Why serverless?
- Can handle loads of requests. Scale up, scale down automatically
- No need to manage server infrastructure (no Kubernetes/Docker configurations, no load balancers, no auto scaling rules, etc)
- Event driven, it will only run when invoked
- Pay as you go
- Quick deployments and updates
When to go serverless?
- Latency is not a problem for the task you want to run
- You don’t have long-running processes (AWS Lambda has 5 minute execution time limit for example)
- You have peak periods of high traffic and times with little to no traffic
- Your functions are quite small and well defined
As always anyway, it depends…
Do I need all of that for my blog?
No. But you know… learn by doing.
If you want to dive deeper into this topic have a look here.
Let’s get started!
Requirements
- Node 8.10.x
- Zeit Account
- Now Dev (v2)
- Redis server
Project setup
First of all we need to install a few dependencies:
{
  "devDependencies": {
    "@now/node": "^0.9.0",
    "@types/node": "^10.12.18",
    "@types/redis": "^2.8.12"
  },
  "dependencies": {
    "redis": "2.8.0"
  }
}
We’re going to use now dev for developing/publishing our function.
Now dev brings live reloading to your backend and ensures that every single request builds and runs the latest version of your code. It support TypeScript out of the box.
Using now CLI we can bootstrap a nodeJS application with TypeScript in no-time: now init nodejs-ts inextenso.
cd into the newly created folder and run now dev.
✨ Magic ✨
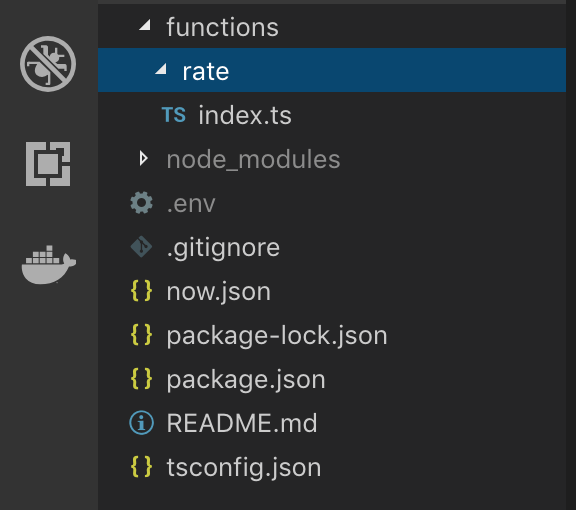
We just need to tweak slightly the folder structure and folders name:
To configure the project for developing locally and deploying live you need a special file called now.json.
In our case it looks like this:
{
    "version": 2,
    "name": "inextenso",
    "builds": [{
        "src": "functions/**/*.ts",
        "use": "@now/node"
    }],
    "env": {
        "REDIS_URL": "@redis_url",
        "REDIS_PSW": "@redis_psw"
    },
    "routes": [{
        "src": "/(.*)",
        "headers": {
            "Access-Control-Allow-Origin": "*",
            "Access-Control-Allow-Headers": "Origin, X-Requested-With, Content-Type, Accept",
            "Access-Control-Allow-Methods": "GET, POST",
            "Access-Control-Allow-Credentials": "true"
        },
        "dest": "/functions/$1"
    }]
}
All it does is configuring some routing, setting up ENV variables to connect to Redis and CORS headers (will be triggering this function from the browser via JS).
You might want to restrict the access only to your domain. Don’t use
*unless you really need it.
ENV Variables
It’s good practice to store sensitive information on the deployment that should only be accessible by the code that’s running in it. You can store this data as secrets and be safe about it.
Here’s how:
Add your secrets via now CLI: now secret add REDIS_PSW mypassword and now secret add REDIS_URL myurl.
You can then add them to your now.json file like this:
"env": {
        "REDIS_URL": "@redis_url",
        "REDIS_PSW": "@redis_psw"
    },
For local dev you can use a .env file with the same key-value pair. now dev is smart enough to use it automatically for you.
Redis
I created a free Redis server using Redis Lab. You get 30mb for free. Enough for trying things out.
Show me the function
In essence all you need is this:
import { NowRequest, NowResponse } from '@now/node';

module.exports = (req: NowRequest, res: NowResponse) => {
  res.end('Hello World');
};
You might wonder what kind of request is a NowRequest and what is a NowResponse.
The Zeit platform provides you with a set of default helpers exposed within your Node.js function. Some of those helpers function includes request.query, response.json(), response.send() etc.
You don’t have to use them, of course, the classic node methods with @types/node will work just fine but it will avoid writing a lot of boilerplate code.
You can find more about these helpers in this blog post.
Back to the code
First of all we need to start and connect to Redis (you can install a local version using brew):
brew install redis
brew services start redis
Here’s the implementation:
import { NowRequest, NowResponse } from '@now/node';
import { RedisClient } from 'redis';
const redis = require("redis");
const { promisify } = require("util");

const isDev = process.env.NODE_ENV !== "production";

const REDIS_URL = isDev ? "127.0.0.1" : process.env.REDIS_URL;
const REDIS_PSW = process.env.REDIS_PSW;
const REDIS_PORT = isDev ? 6379 : 14506;

const client: RedisClient = redis.createClient(REDIS_PORT, REDIS_URL, {
  no_ready_check: isDev ? false : true
});

const getAsync = promisify(client.get).bind(client);
const setAsync = promisify(client.set).bind(client);

export default async (req: NowRequest, res: NowResponse) => {
  if (!isDev) {
    client.auth(REDIS_PSW, err => {
      if (err) throw err;
    });
  }
  client.on("connect", () => {
    console.log(`connected to redis`);
  });
  client.on("error", err => {
    console.log(`Error: ${err}`);
    return res.status(500).send(`Error: ${err}`);
  });
  if (req.method !== 'POST') {
    return res.status(404).send('Not found');
  }
}
RedisLab server requires auth so we need to call the auth method if we’re running in production.
The rating system is quite simple and naive. We provide a scale from 1 to 5 and we increase the count based on the post ID.
type Rates = '1' | '2' | '3' | '4' | '5'
interface IPayload {
  ip?: string;
  feedback: {
    [k in Rates]?: number;
  }
}

const saveData = async (currentObj: string, id: string, rate: number): Promise<string> => {
  if (currentObj !== null) {
    const payload: IPayload = JSON.parse(currentObj);
    if (payload.feedback.hasOwnProperty(rate)) {
      payload.feedback[rate]++;
    } else {
      payload.feedback[rate] = 0;
    }
    return await setAsync(id, JSON.stringify(payload));
  } else {
    const payload: IPayload = {
      feedback: {
        [rate]: 0
      }
    }
    return await setAsync(id, JSON.stringify(payload));
  }
}
Now we need to handle the request and response (the entire function):
export default async (req: NowRequest, res: NowResponse) => {
  if (!isDev) {
    client.auth(REDIS_PSW, err => {
      if (err) throw err;
    });
  }
  client.on("connect", () => {
    console.log(`connected to redis`);
  });
  client.on("error", err => {
    console.log(`Error: ${err}`);
    return res.status(500).send(`Error: ${err}`);
  });
  if (req.method !== 'POST') {
    return res.status(404).send('Not found');
  }

  const { id, rate } = <{ id: string, rate: string }> req.query;
  if (!id || !rate) {
    return res.status(400).send('id or rate are missing from query parameters');
  }
  const currentObj = await getAsync(id);
  try {
    const response: string = await saveData(currentObj, id, Number(rate));
    return res.status(200).send(
      JSON.stringify({
        data: {
          status: response
        }
      })
    );
  } catch (error) {
    if (error instanceof Error) {
      return res.status(500).send(`Error: ${error.message}`);
    } else {
      throw error;
    }
  }
}
Redis stores everything in string or in its string representation. That’s why we have to
JSON.stringify()things.
If you try now to POST via curl or HTTPie to your endpoint you should get a response back from the server that data has been saved correctly to the DB.
Using HTTPie: http POST :3000/rate id==11 rate==5
Deploy live
Run now. That’s it.
✨ Magic ✨
Conclusions
The Now platform provides and amazing dev experience. We were able to bootstrap and deploy a Lambda in few simple steps.
I really like the fact that you can focus on your code/product/business value and almost forget about setting up all the infrastructure.
Of course this example doesn’t cover all the special cases, monitoring, testing etc, but I hope is enough to get you exited to try things out for yourself.
You can find the code for this article here: https://github.com/zanonnicola/inextenso
I haven’t finished/polished the code enough for prime time. As soon as I complete the project I’ll update this blog post with demos and more examples.
Happy coding!
If you have any suggestions, questions, corrections or if you want to add anything please DM or tweet me: @zanonnicola